Adding and Editing Student Accounts
This How to Guide will cover the My Students page and functionality.
- Adding a Student
- Manually adding a student
- Uploading a CSV file
- Adding a current student from another class or grade level
- Archiving a Student and Reactivating an Archived student
- Exporting class and student info to Excel
- Class roster
- Student’s assessment results
- Edit student
- Edit student’s name
- Reset a student’s password
- Student Consent form
- Invite Parent to Lumos
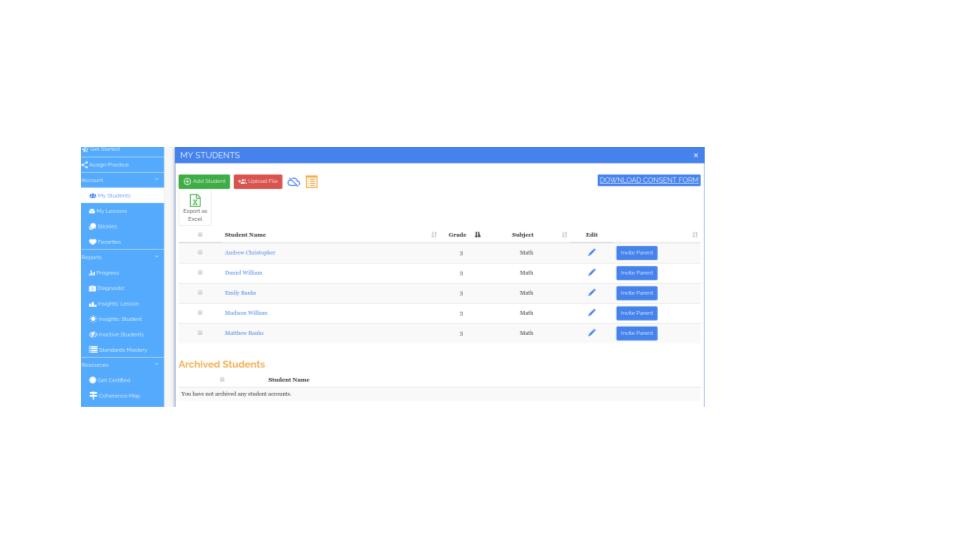
Select My Students tab. This will display all of your active and archived students in your classes. * If you have more than one class or subject the class name will be displayed in the blue header, where you can click the class name to view that class’s students.
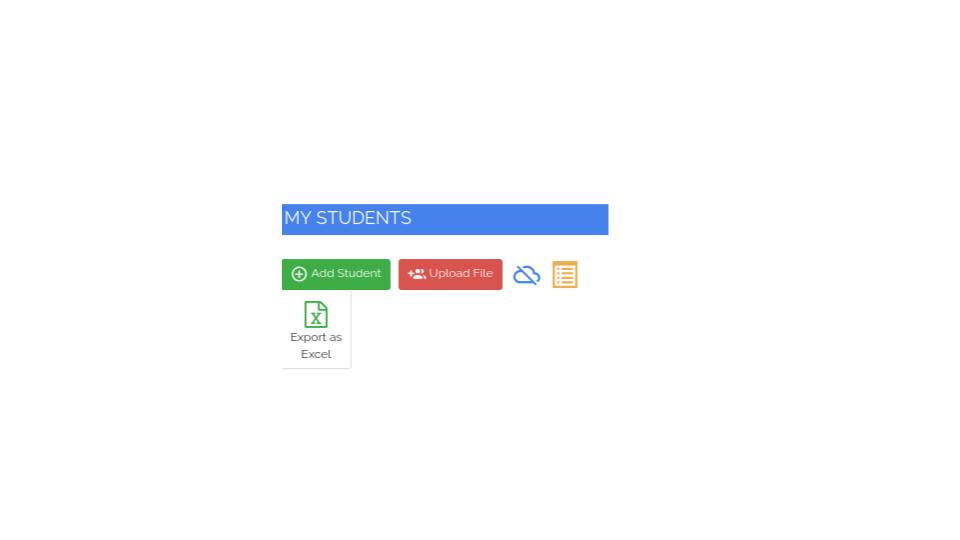
Manually adding a student *Use for adding 1-3 students
- Click the Green Add Student button.
- Add student’s name.
- Create the student’s login I.D. *Best practice is to use an I.D. that the student is already using, ie. their school I.D.
- Create student’s password.
- Select course for student.
Upload a CSV file * Use when you are adding multiple students
- Click the Red Upload File button, this will bring up an import wizard.
- Download and populate the Excel file.
- Save the file.
- Upload file.
- Uploaded students will now be visible in the My Students tab.

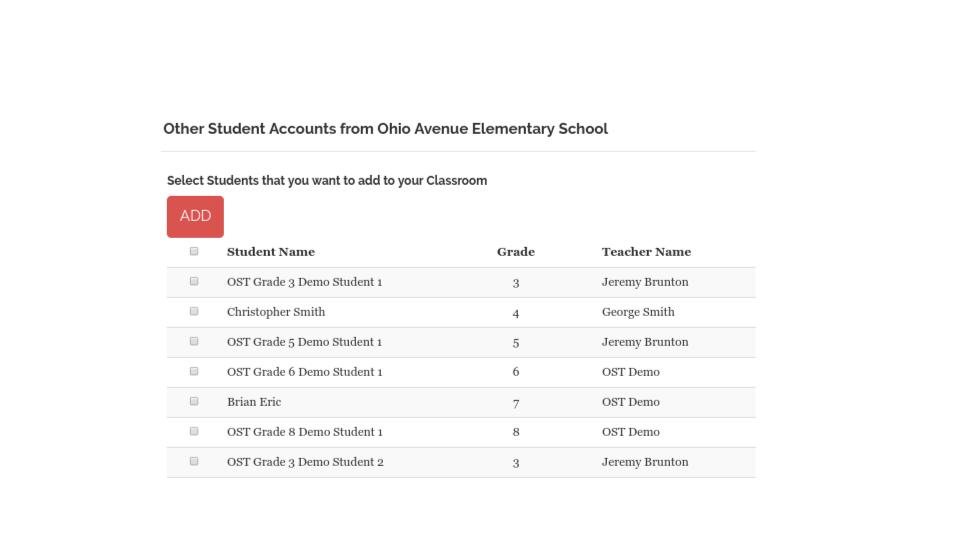
Adding a current student from another class or grade level
- Click the Yellow Add Existing Student Accounts to Your Classroom- this will display all active students with Lumos accounts.
- Find and select the student which you want to add to your class-and select add-You can do a CTRL F if you want to search by student name.
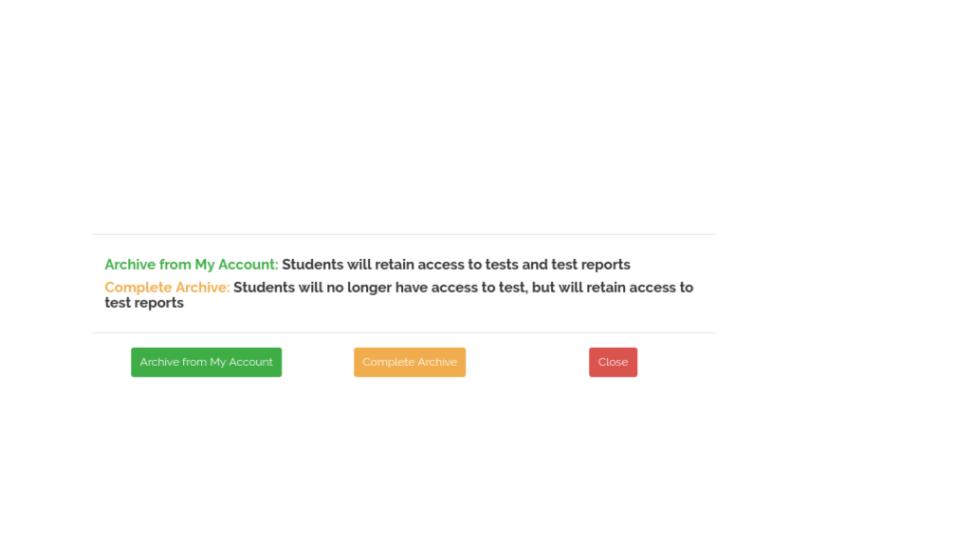
Archiving a Student Account
- Select the student account you want to archive and click the Blue Cloud icon.
- You will be presented with two options for Archiving.
- Archive from My Account
- Complete Archive
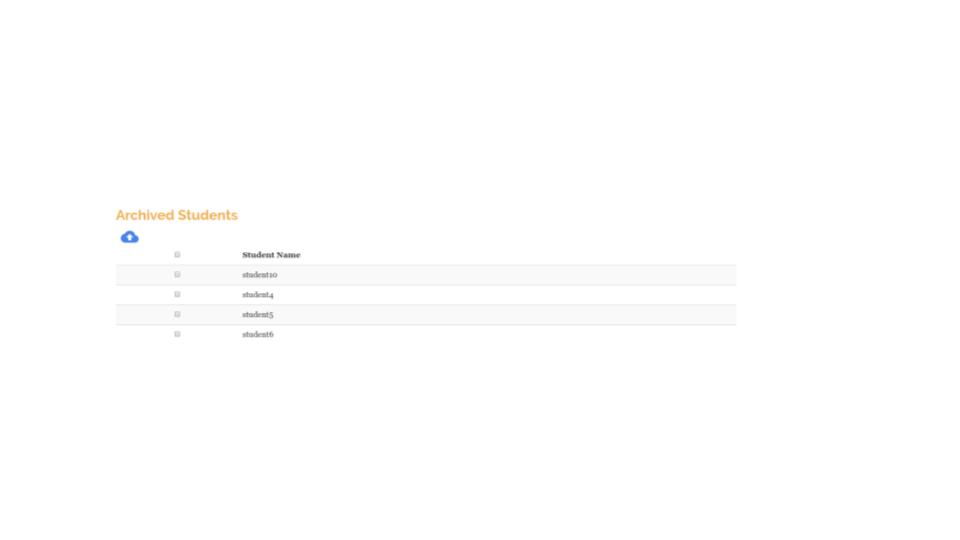
Reactivating an Archived Student
- Scroll to the bottom of the My Students tab where you will see the Archived Students section.
- Select the student you want to reactivate to your class and click the Blue Cloud icon
Exporting your Class Roster
- To export a student roster click the Export as Excel icon.
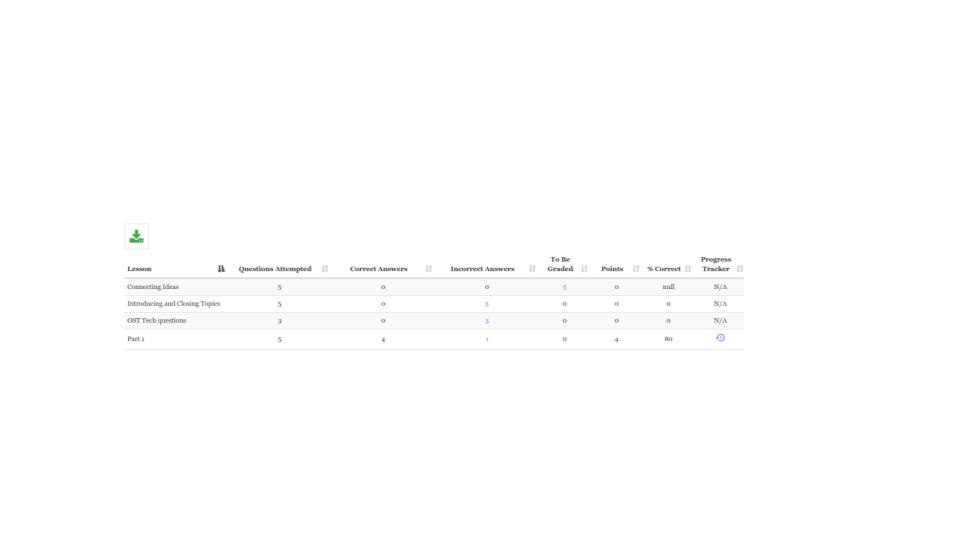
Student Test Results Exported to Excel
- Click on the student’s name, this will display the student’s assigned lessons with proficiency results.
- Click the Green icon to download test data as a an Excel Spreadsheet.
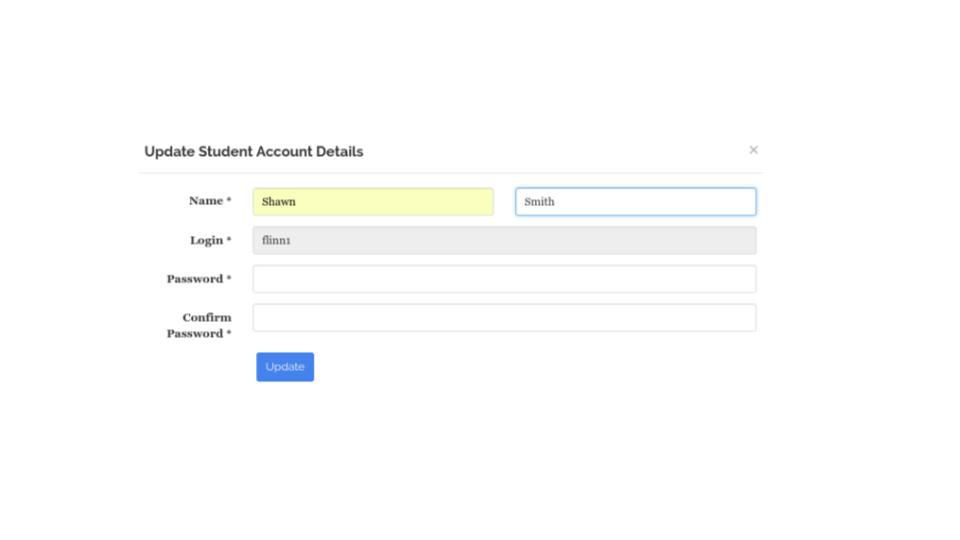
Edit Student Account
- Click the Blue Pencil icon- this will bring up the Update Student Account Details screen.
- Make edits to student’s name or create a new password.
- Click Update.
Student Consent Form
- Click the Download Consent Form button- this will produce parental consent form for all your students. The form can be printed and sent home with the student.
- The student’s password will not be populated into the form you or the student will have to populate the password.
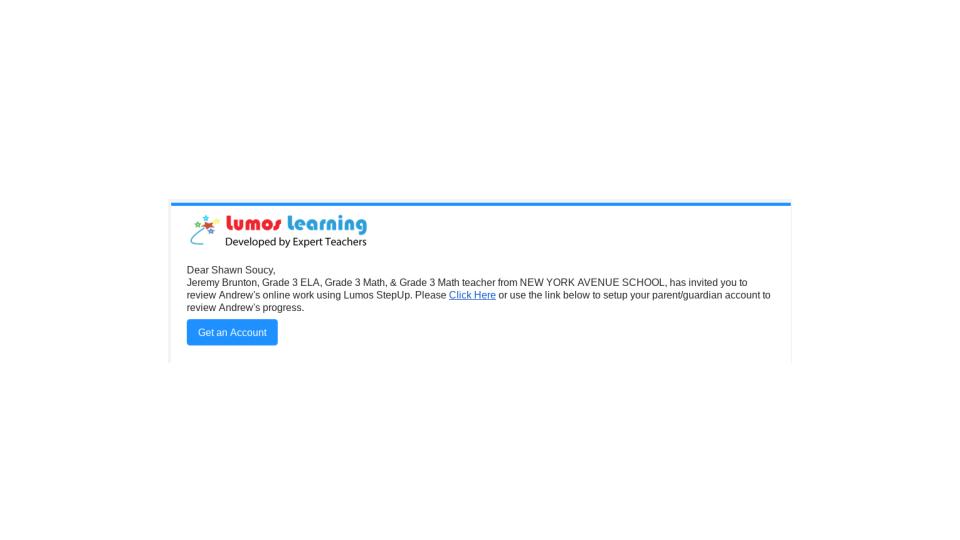
Invite Parent to Lumos
- Click the Invite Parent button- this will bring up the Invite Parent to View Student Reports.
- Enter parent name and email address.
- Click Submit.
- Email will be generated and sent to the parent with instructions on how to setup their parent account.
- The Invite Parent Icon will now say Invited.